Unlock Your Digital Potential: A Step-by-Step Guide to Setting Up WordPress on Vultr
Unlock Your Digital Potential: A Step-by-Step Guide to Setting Up WordPress on Vultr
In a world where digital presence is paramount, having a robust and user-friendly content management system (CMS) is more crucial than ever. WordPress, the world's most popular CMS, offers unparalleled flexibility and customizability, making it the go-to choice for millions of users worldwide. But, setting up WordPress on a virtual private server (VPS) like Vultr can seem daunting to even the most seasoned web developers. Fear not, dear reader! In this comprehensive guide, we'll walk you through the process of setting up WordPress on Vultr, from choosing the right plan to launching your website.
Vultr, a leading cloud platform provider, offers a range of features that make it an ideal choice for hosting WordPress sites. With a free trial, 24/7 support, and a 99.99% uptime guarantee, Vultr provides the perfect blend of flexibility and reliability. "Our mission is to provide a simple, fast, and affordable platform that allows users to build, deploy, and manage their web applications with ease," says Vlad IONESCU, COO of Vultr. "We believe that every user deserves a great hosting experience, regardless of their technical expertise."
Before diving into the setup process, let's take a look at the advantages of using Vultr for WordPress hosting:
• **Lightning-fast speeds**: Vultr's network ensures that your site loads quickly, making for a seamless user experience.
• **Unbeatable scalability**: Easily scale your resources to accommodate growing traffic and user demand.
• **Reliable security**: Enjoy top-of-the-line security measures, including malware scanning and automatic updates.
• **Comprehensive support**: 24/7 support from the Vultr team ensures that you're never stuck.
Before we begin, make sure you have the following:
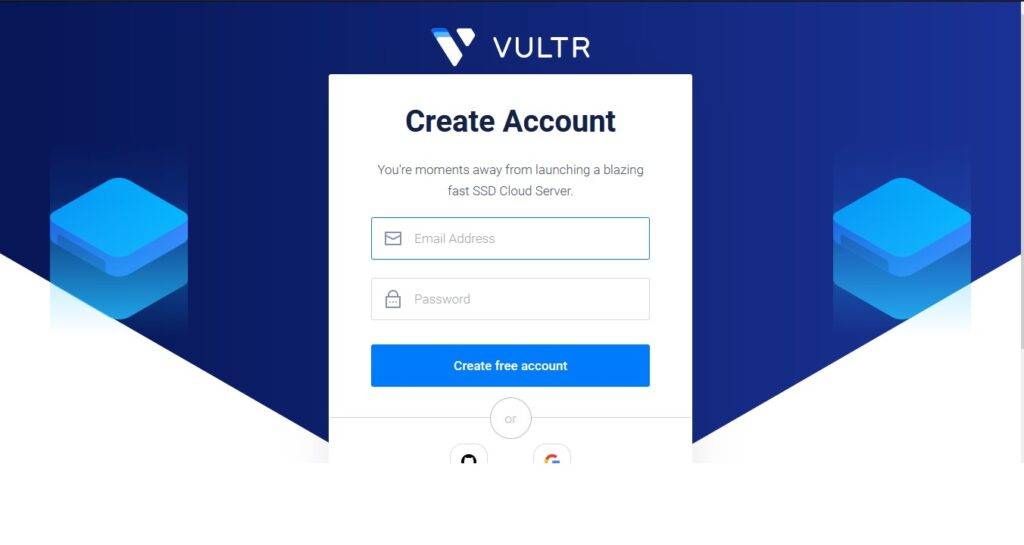
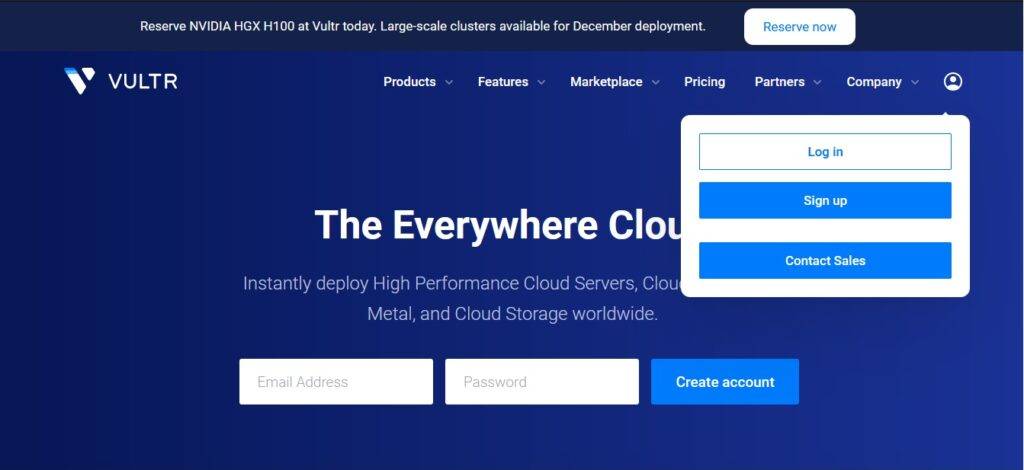
* A Vultr account (sign up for a free trial if you haven't already)
* A domain name (or purchase one from Vultr)
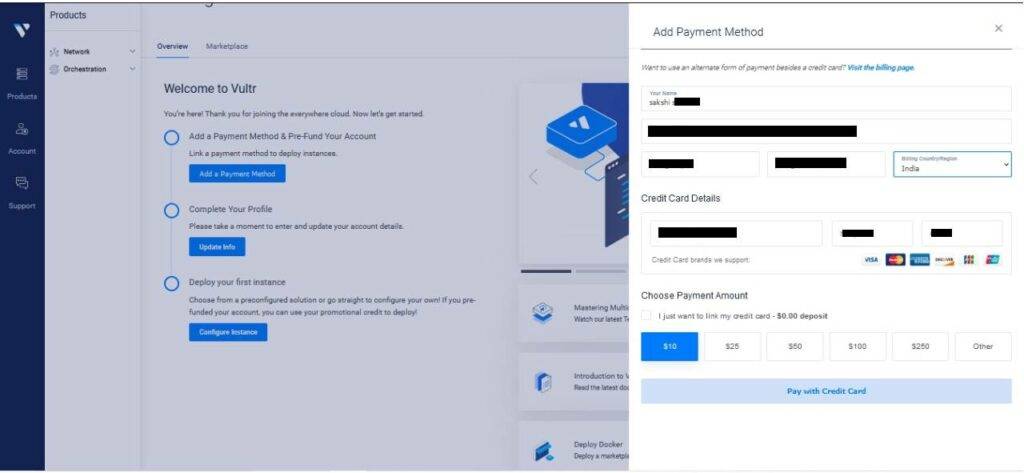
* A credit card or payment method
* A WordPress installation method of your choice (we'll cover this later)
Choosing the Right Plan
Selecting the perfect Vultr plan for your WordPress site is crucial. With various plans to choose from, you'll want to consider the following factors:
1. **CPU**: More CPU power is required for resource-intensive sites, such as e-commerce platforms or multimedia-rich publications.
2. **RAM**: A generous RAM allocation ensures smooth performance and prevents crashes.
3. **Storage**: Ample storage space is necessary for hosting large media files.
4. **Bandwidth**: High-bandwidth plans are ideal for sites with large traffic.
For a basic WordPress site, a single-core plan (CPU: 512 MB, RAM: 1 GB, Storage: 30 GB, Bandwidth: 100 GB) should suffice. However, if you anticipate high traffic or resource-intensive plugins, consider upgrading to a more robust plan.
Registering a Domain Name
To get started, register a domain name if you haven't already. Vultr offers domain registration services, making it a one-stop-shop for hosting and domain management. Follow these steps:
1. Log in to your Vultr account and navigate to the 'Billing' section.
2. Click on 'Domain Names' and select the type of domain you'd like to register (e.g., .com, .net, etc.).
3. Enter your desired domain name and proceed to checkout.
Setting Up Your WordPress Installation
Now that you have your Vultr plan and domain name, it's time to install WordPress. We'll explore two popular methods: 1-Click installs and manual installations.
Method 1: 1-Click Installs
1. Log in to your Vultr account and navigate to the 'Server Management' section.
2. Locate your server and click 'Edit Server'.
3. Scroll down to the 'Installations' section and click 'WordPress'.
4. Select your server and click 'Deploy'.
5. Wait for the installation to complete; this should only take a few minutes.
Method 2: Manual Installations
For those who prefer manual installations or need to customize their setup, follow these steps:
1. Login to your Vultr account and navigate to the 'Server Management' section.
2. Locate your server and click 'Edit Server'.
3. Scroll down to the 'Installations' section and select the installation method you prefer (e.g., Softaculous, Installatron, etc.).
4. Follow the on-screen instructions for the chosen installation method.
WordPress requires a database to function, so make sure you've created a database before proceeding. You can do this by logging in to the Vultr control panel and following these steps:
1. Navigate to the 'Database' section.
2. Click on 'Create Database'.
3. Fill in the required details (username, password, database name, and database type).
4. Click 'Create Database'.
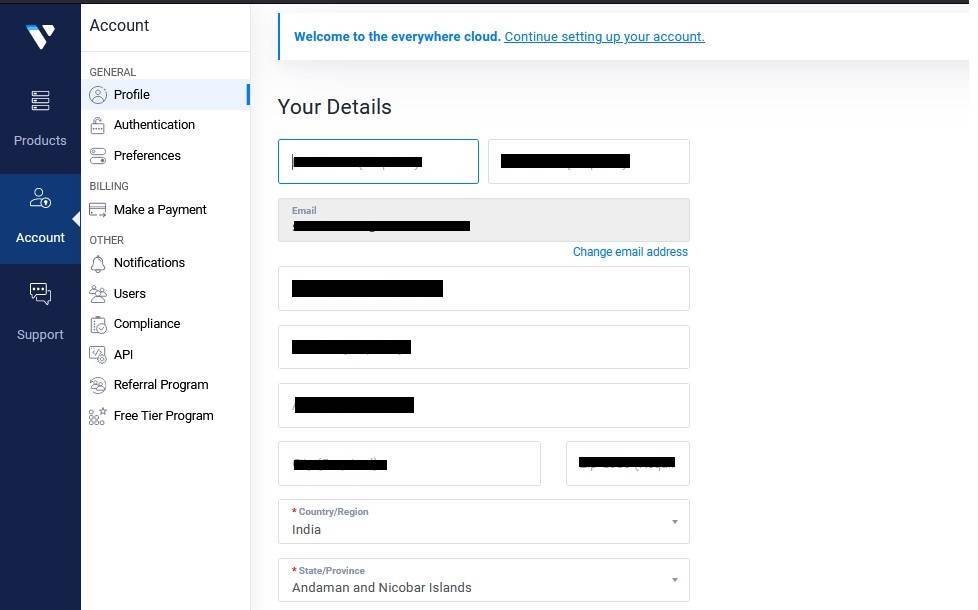
Configuring Your WordPress Site
Once your WordPress installation is complete, you'll need to configure your site. This includes:
• Updating your user details (username, password, email)
• Setting your admin email
• Generating a secure password
• Choosing your theme and plugins
Customizing Your Appearance
With WordPress installed, it's time to customize your site's appearance. Browse the thousands of free and paid themes available on the official WordPress Themes Directory. We recommend starting with a popular theme like Astra or OceanWP.
Themes vs. Plugins
Themes control the visual appearance of your site, while plugins extend its functionality. Popular plugins include:
• Security tools (e.g., Wordfence, MalCare)
• SEO optimization (e.g., Yoast SEO, All in One SEO Pack)
• Social media integration (e.g., Facebook, Twitter)
A well-configured Gutenberg editor (or your theme's default editor) will help you craft engaging content that boosts user engagement.
As your site grows, so will your need for advanced SEO and security features. Showcase your new site to the world with these actionable SEO tips:
1. Create high-quality, engaging content.
2. Optimize your title tags, meta descriptions, and titles.
3. Implement header tags (H1-H6).
4. Utilize internal linking and link building.
Securing Your WordPress Site
Maintaining a secure WordPress site is crucial. Here are some essential security measures to take:
1. **Regularly update WordPress and plugins**: Ensure you're running the latest versions of WordPress and its components.
2. **Use a security plugin**: Implement a reputable security plugin like Wordfence.
3. **Limit login attempts**: Restrict login attempts to your site to prevent brute-force attacks.
4. **Regularly back up your site**: Use a reliable backup plugin like Backups Dairy.
Conclusion
Setting up WordPress on Vultr requires dedication, patience, and the right tools. With this guide, you've equipped yourself to navigate the process with ease. Remember to weigh the importance of scalability, security, and support when choosing your hosting plan. From 1-Click installs to manual customization, leveraging Vultr's strengths takes your WordPress site to new heights. "We're committed to providing the most immersive, humble and unified Infrastructure Engineering experiences", adds Vlad IONESCU, COO of Vultr. As you overcome these epic battles and have fully deployed WordPress on Vultr, you will unlock all potential and transform your website for both you and your users.
Related Post

Dr. Nowzaradan: The Bariatric Surgeon Behind TLC's 'My 600-lb Life'

Unmasking the Mystery of Jamerrill Stewart's Husband: A Dive into the Uncharted Territory of the Popular Figure

Unveiling the Storm: Exposing Anthony Kiedis's Checkered Past With Minors

Unlocking the Secrets of Leo Ascendants: Understanding July 15 Zodiac Sign


