**The Ultimate Guide To Jelly Roll Necklaces: From Basics To Advanced Techniques**
**The Ultimate Guide To Jelly Roll Necklaces: From Basics To Advanced Techniques**
The world of jewelry-making has experienced a significant resurgence in recent years, with many crafters and artists taking to the hobby to create unique and personalized pieces. Among the many techniques and mediums used in jewelry-making, jelly roll necklaces have gained immense popularity for their vibrant colors, intricate designs, and easy-to-master techniques. In this comprehensive guide, we will delve into the world of jelly roll necklaces, covering the basics, intermediate, and advanced techniques to help readers create stunning pieces that showcase their creativity and skills.
**What Are Jelly Roll Necklaces?**
Jelly roll necklaces, also known as rolled cane or rolled paper jewelry, are a type of art piece that originated in the early 20th century. They are characterized by thin, colorful rolls of clay or paper that are shaped into different forms and then arranged on a piece of jewelry, usually a pendant, to create a visually appealing design. The unique aspect of jelly roll necklaces lies in the rolling process, which uses a technique similar to marbling to create intricate patterns and colors within the clay.
**Basic Materials and Tools**
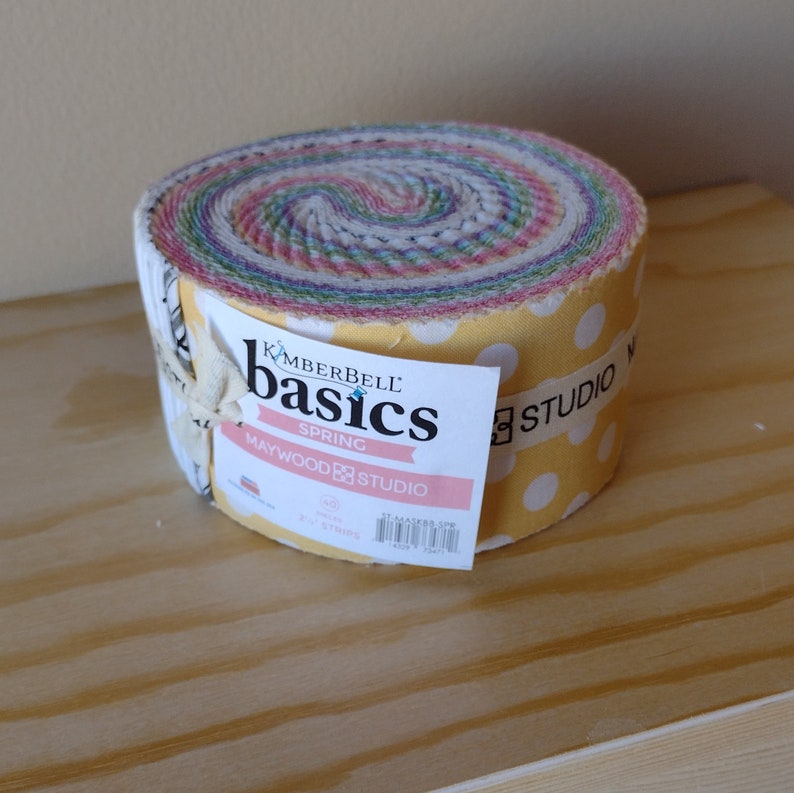
- Clay or Paper: The primary material used in jelly roll necklaces is clay or paper, which can be rolled into thin sheets and dyed in various colors.
- Rolling Pin: A flat surface or a rolling pin is necessary for rolling out the clay or paper into thin sheets.
li>Clay Tools: Various tools like shaping tools, texture plates, and pattern plates are used to create patterns and add details to the rolled clay.
**Basic Techniques**
The primary technique used in jelly roll necklaces involves rolling out the clay or paper into thin sheets and shaping them into different forms. Here are a few basic techniques to get you started:
- Basic Rolling: Roll out the clay or paper into a thin sheet, using a rolling pin or a flat surface to achieve an even thickness.
- Color Layering: Apply layers of colored clay or paper to create a gradient or ombre effect.
- Pattern Making: Use clay tools to create patterns on the rolled-out clay or paper, such as stripes, dots, or chevrons.
- Rolling with Patterns: Roll the clay or paper with patterns or textures to add depth and dimension to the piece.
"For beginners, it's essential to practice rolling out the clay or paper to get the hang of it," says Sarah Johnson, a jewelry artist and instructor. "As you gain more experience, you can experiment with different colors, patterns, and techniques to achieve unique designs."
**Intermediate Techniques**
As you become more comfortable with the basic techniques, you can move on to more complex techniques to enhance your jelly roll necklaces. Here are some intermediate techniques to explore:
- Multi-Layering: Roll multiple layers of clay or paper to create intricate, multi-colored designs.
- Drilling: Use a drill to create small holes and patterns in the rolled clay or paper.
- Molding: Use molds or shape the clay or paper to create three-dimensional forms.
"I love experimenting with different colors and techniques to create unique designs," says Emily Lee, a jewelry artist. "One of my favorite techniques is using multiple layers of clay to create a gradient effect—an ombre effect that adds a beautiful contrast to the piece."
**Advanced Techniques**
- Mod Podge: Use Mod Podge or a similar adhesive to attach multiple layers of rolled clay or paper.
- Painting: Add a pop of color or detail to the jelly roll necklace by painting individual components with acrylic paint or ink.
- Weaving: Weave the rolled clay or paper to create a more intricate design.
For artist Liza Pack, advanced techniques like mod podging and painting are essential in elevating her jelly roll necklaces to a professional level. "By combining multiple techniques, I can create unique pieces that show off my artistic style and skill level," Pack says.
**Tips and Variations**
Here are some additional tips and variations to enhance your jelly roll necklaces:
- Experiment with shapes: Roll clay or paper into different shapes, such as hearts, circles, or squares.
- Combine with other materials: Mix jelly roll necklaces with other jewelry-making techniques, such as wire-working or beading.
li>Try different materials: Use different types of clay or paper, like polymer clay or Tylose, to achieve unique textures and properties.
"One of the best things about jelly roll necklaces is that they can be made with various materials and at different skill levels," concludes Johnson. "Whether you're a beginner or an experienced artist, jelly roll necklaces offer endless possibilities for creativity and self-expression."
**Conclusion**
From the basics to advanced techniques, this guide has covered the intricacies of jelly roll necklaces. Whether you're a seasoned artist or a beginner, the techniques and variations outlined in this article will help you create stunning, one-of-a-kind pieces that showcase your creativity and skills. Remember to experiment, practice, and push the boundaries of what is possible with jelly roll necklaces.

Related Post
The Mysterious March 15 Sign: Unlocking the Secrets of an Ancient Symbol

The Unsung Hero of Psychology: The Life and Work of Nury Turaa Cooley

Unpacking the Mystery of Motherly Warmth: Insights from 'Jackerman Mothers Warmth Chapter 3'

The State of Email Security: Nyp Infonet Email and the Fight Against Cyber Threats